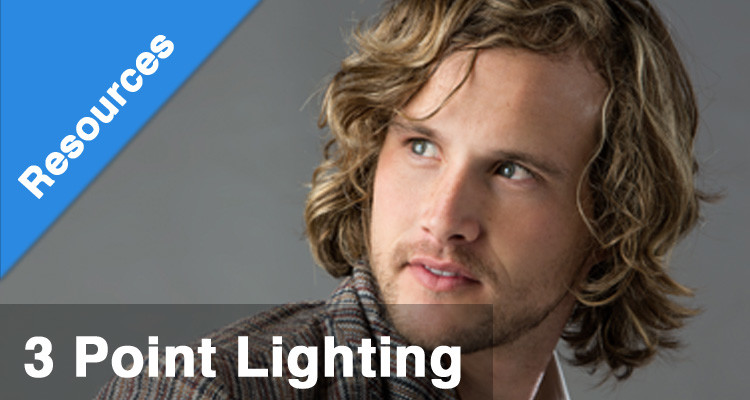
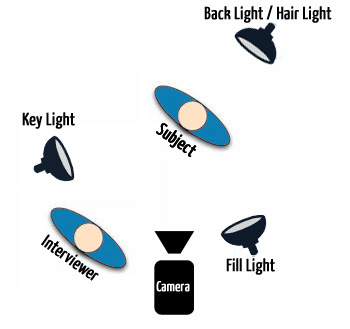
Although 3 point lighting is considered basic, there is nothing basic about it. It is the foundation or underpinning of almost any lighting setup. So what is three point lighting? Three point lighting is the lighting of a subject with three light sources. These sources are called a Key Light, Fill Light and a Hair Light (Some cinematographers refer to the Hair Light as a Back light).
Key Light – The key light is typically the most important light and usually the brightest light in a 3 point lighting setup. It is setup to light one side of the talents face. It does not necessarily have to be a “light”. It is quite common to use natural light as a key light.
Fill Light – The fill light does exactly what its name implies. It fills in the other side of the talents face and eye sockets but it is not as bright as the key light.
Back Light / Hair Light – The back light / hair light provides a rim of light around the subject and helps to separate them from the background.
The three point lighting setup is very common when shooting an interview. As you watch films and television shows, you will find that many cinematographers like to have the fill side or the “moth” side of the face towards the camera.
You can play with the intensity and placement of the various lights. A strong key and a soft fill will make the shot appear more dramatic. You can also experiment with non-diffused lights for the back light/hair light.
You can try placing the key light above the talent for a different look. This can often be unflattering because it can cause deep shadows in the eye sockets. It can work well if you are trying to make the subject look sinister.
If you are shooting a female and want to make her look more like a model or glamour shot, be sure to use soft lights for both the key and fill. Set the intensity of the fill light just under the key light and use a strong hair light.
When placing the fill light, make sure it does not create a second shadow across your talents face. If it does, then it is too hot and needs to be brought down.
If you do not have three lights, try using a bounce card for the fill light. This technique works very well and gives a very natural lighting effect.
Just like any other video technique, three point lighting can be mastered with a bit of practice. It is a simple technique that can yield fantastic results.
Here are two video tutorials that walk you through three point lighting and show the effect of each individual light.
The first tutorial is from the Vimeo Film School. It is a pretty brief tutorial but it has three good videos showing different elements of three point lighting.
The second tutorial is called:
Filmmaking 101 – Three Point Lighting Tutorial
It is a bit over 10 minutes and walks the view through each light individually as well as all three together.


